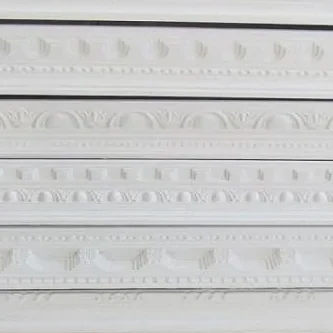
How To Install Crown Molding: Easy DIY Guide
To set up crown molding, degree your partitions and reduce the molding to match before attaching it with nails or adhesive. Enhance your room’s beauty by installing crown molding, a ornamental trim that bridges the distance among walls and ceiling.
This DIY assignment can rework an everyday area into one with a high-quit feel. It calls for precision and interest to element, as even small miscalculations can lead to gaps and misalignments. By following a step-by-step technique, homeowners can tackle this upgrade over a weekend.
Selecting the right style and size of molding on your room’s decor is important. With the right tools, inclusive of a miter noticed for angled cuts and a coping noticed for corners, you could obtain a professional finish. Remember to paint or stain the molding before installation for a seamless appearance.
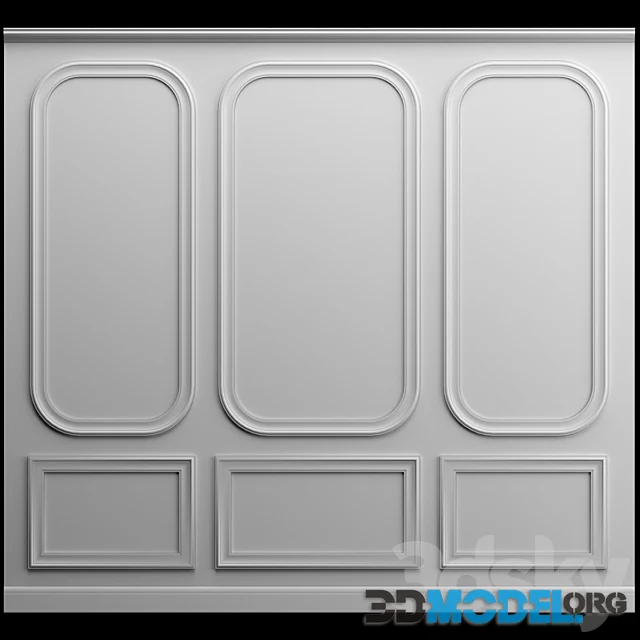
Introduction To Crown Molding
Crown molding enhances the beauty of any room, creating an stylish transition among walls and ceiling. Different materials offer unique characteristics and finishes. Here’s a brief overview:
| Material | Pros | Cons |
|---|---|---|
| Wood | Classic look, can be painted or stained | Can warp or expand, higher cost |
| MDF | Affordable, smooth finish | Not ideal for high humidity areas |
| Polyurethane | Moisture resistant, durable | May yellow over time |
| Polystyrene | Lightweight, easy to install | Less durable, lower quality feel |
| Plaster | High-end finish, customizable | Expensive, requires professional installation |
Tools And Materials Needed
Installing crown molding makes rooms look elegant. First, gather the essential tools and materials. For tools, you will need a measuring tape, a miter saw, a caulk gun, and a hammer. Sometimes, a paintbrush and a level are also necessary.
Materials depend on your room’s look. Wood and polyurethane are popular choices. Wood brings a classic feel. Polyurethane is lighter and easier to handle. Always measure your room before buying materials. This ensures you get enough without wasting money.
Measuring Your Space
Measuring your space for crown molding is a crucial step. Start by measuring the length of each wall. Write these numbers down to keep track. For precision, measure each wall twice. Record the longest measurement. To calculate the total length, add all wall measurements together.
Remember to consider the corners and angles of the room. Most rooms have inside corners, usually at a 90-degree angle. For outside corners, angles can vary. Use a protractor to find the exact angle. This ensures the molding fits perfectly. Extra length is necessary for miter cuts.
| Wall | Measurement |
|---|---|
| Wall 1 | Measure in feet and inches |
| Wall 2 | Measure in feet and inches |
| Wall 3 | Measure in feet and inches |
| Wall 4 | Measure in feet and inches |
Combine all individual wall lengths. This will give the total length needed. Factor in a bit more for cuts and waste.
Preparing The Crown Molding
To ensure a smooth installation of crown molding, precise cutting is key. Use a miter saw for accurate angles. Align the molding correctly for each cut. Precise measurements lead to tight joints.
After cutting, focus on sanding edges. Smooth surfaces are crucial for a professional look. Use fine-grit sandpaper for best results. Sanding removes imperfections, preparing the molding for paint.
Priming is the next step. Apply an even coat of primer to all molding pieces. This prepares the surface for the final paint and ensures a uniform finish. Let the primer dry completely before moving to the next step.
Cutting Crown Molding Corners
Cutting crown molding corners needs patience and practice. For inside corner cuts, use a coping saw. Cut along the profile. This makes pieces fit tightly. Measure twice, cut once. Always remember this tip.
For outside corner cuts, a miter saw is best. Set the saw to 45 degrees. Make sure the molding is upside down. This mimics its position on the ceiling. Use a clamp to hold the molding. This keeps your hands safe. After cutting, check the fit. Adjust if needed. Sometimes, a small trim makes a perfect fit.
Installing The Crown Molding
To install crown molding, precise measurement is vital. Mark the wall where the bottom of the molding will sit. Use a stud finder to locate studs for a secure attachment. Cut the molding with a miter saw, ensuring angles match the wall corners.
For nailing, use finishing nails at an angle. This technique ensures a firm grip. Apply construction adhesive on the back of the molding for extra hold. Press the molding firmly against the wall and nail into place. Space nails about 8 inches apart, making sure to nail into studs.
Check the alignment regularly while installing. Use a level to ensure the molding is instantly. Fill nail holes with wood putty for a easy finish. Caulk the pinnacle and bottom edges wherein the molding meets the ceiling and wall to conceal gaps.
Caulking And Finishing Touches
Sealing gaps and joints is crucial for a professional finish. Begin by carefully inspecting the crown molding for any small openings where the pieces meet. Use a paintable caulk to fill these gaps, ensuring a seamless transition between sections. Allow the caulk to dry absolutely before shifting on to portray.
For the very last coat of paint, pick a terrific brush or curler for a clean software. Apply a thin, even layer over the crown molding, covering all surfaces and edges. This coat no longer most effective protects the molding however also gives it a refined appearance. Allow enough time for the paint to dry very well before assessing if a further coat is necessary.
Maintenance And Care
Maintenance and care of crown molding keep it looking fresh and beautiful. For cleaning practices, use a soft cloth. Dip it in soapy water. Gently wipe the molding. Dry it with another clean cloth. This method prevents dust buildup.
For minor repairs and touch-ups, a simple filler works. Apply it to small cracks or holes. Let it dry. Then, paint over the area. Match the paint to your molding. This keeps the look uniform and neat.
Troubleshooting Common Issues
Uneven walls can challenge crown molding installation. A solution lies in using caulk to fill gaps, ensuring a seamless appearance. Ensure walls are smooth before installation. Patience and precision are key.
Miter saw mistakes often occur during cutting. Double-check measurements before cutting. Use a sharp blade for clean cuts. Practice on scrap pieces to perfect your technique. Remember, measure twice, cut once.
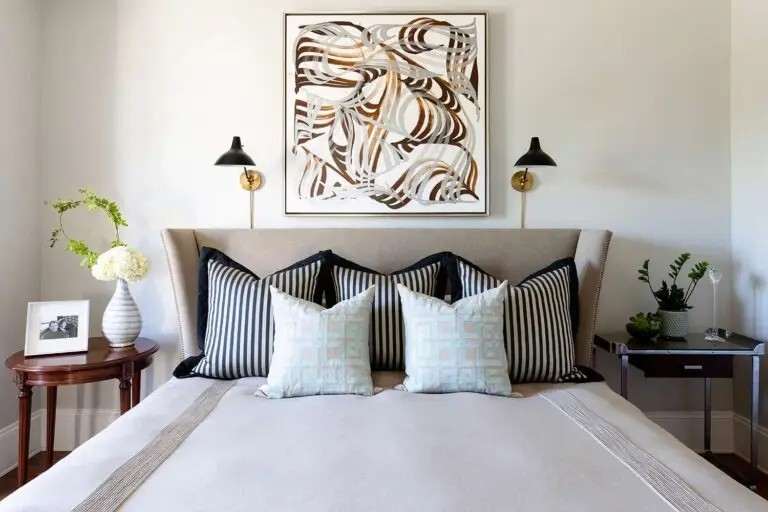
Enhancing Room Aesthetics With Crown Molding
Crown molding can transform a room, adding a touch of elegance and character. To further enhance its beauty, consider pairing it with decorative elements. Wall colors that contrast or complement the molding make it stand out. Wallpaper with subtle patterns can also add depth to the design.
For an added effect, incorporate lighting to emphasize the molding’s details. Indirect lighting can be installed above the molding to cast a warm glow and create soft shadows. This lighting technique can highlight the intricate designs and provide a cozy ambiance. On the other hand, direct lighting can accentuate the molding’s profile, creating dynamic shadow lines on the ceiling.
| Decor Idea | Type of Lighting | Effect |
|---|---|---|
| Contrasting Wall Color | N/A | Highlights Molding |
| Patterned Wallpaper | N/A | Adds Depth |
| Indirect Lighting | Above Molding | Warm Glow & Soft Shadows |
| Direct Lighting | Pointing to Molding | Dynamic Shadow Lines |
Frequently Asked Questions
What Tools Are Needed For Crown Molding Installation?
Essential tools for installing crown molding include a miter saw, coping saw, nail gun, level, and measuring tape. These facilitate accurate cutting and secure fitting.
Can Crown Molding Be Installed By One Person?
While challenging, a single person can install crown molding using proper supports and a step-by-step approach to ensure precise alignment and secure mounting.
How To Choose The Right Size Crown Molding?
To select the right size crown molding, consider the ceiling height; larger rooms generally require wider molding to maintain visual proportion and aesthetic appeal.
Conclusion
Wrapping up, mastering crown molding installation can elevate your home’s aesthetic significantly. Remember, precise measurements and careful cutting are key. Embrace this DIY project, and soon, your rooms will boast a touch of elegance. Ready to tackle the next home improvement challenge?